Kalibriernormal Kalibriernormal

The precision enablers for industrial metrology

In this interview, the managing directors of Opti-Cal GmbH provide genuine insights into how high-resolution 3D printing of material measures can improve optical surface inspection systems

Insights
July 21, 2021

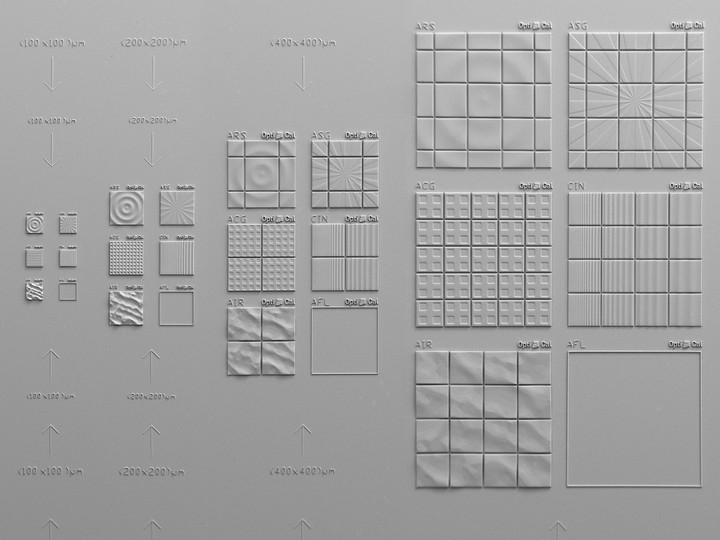
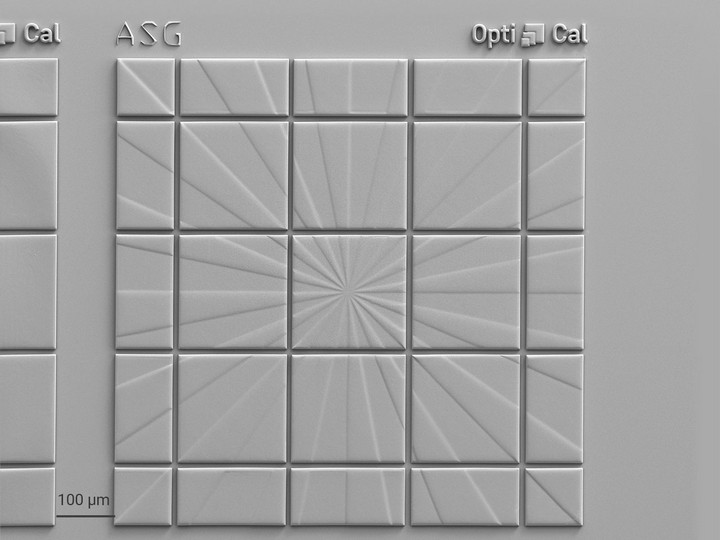
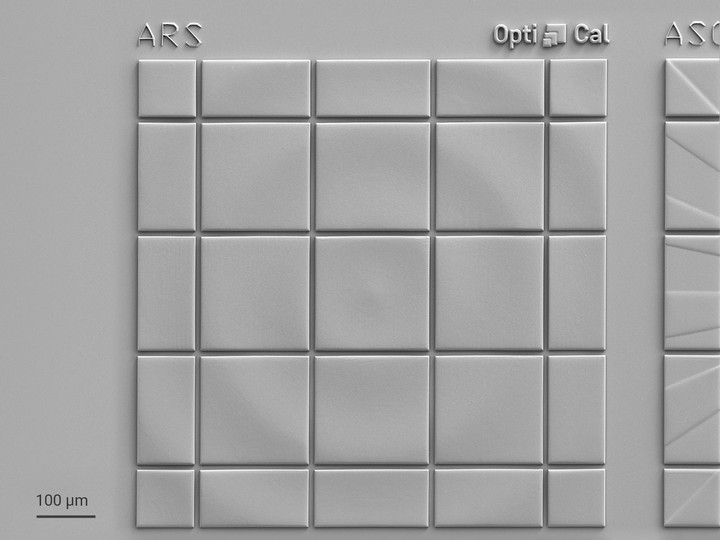
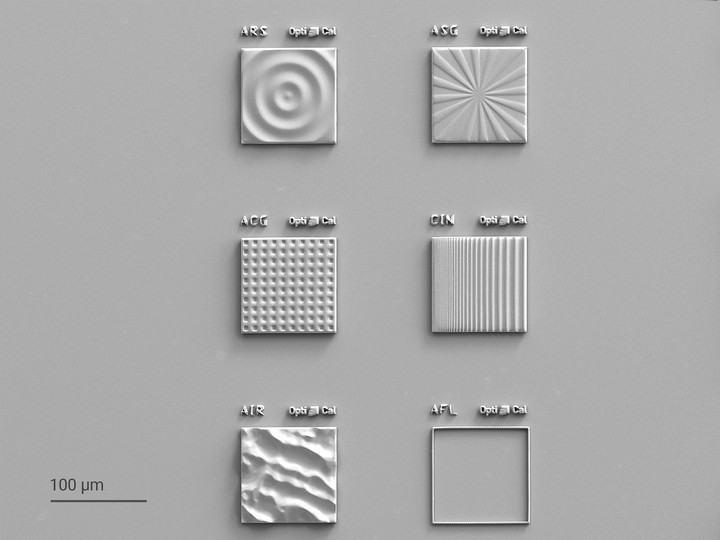
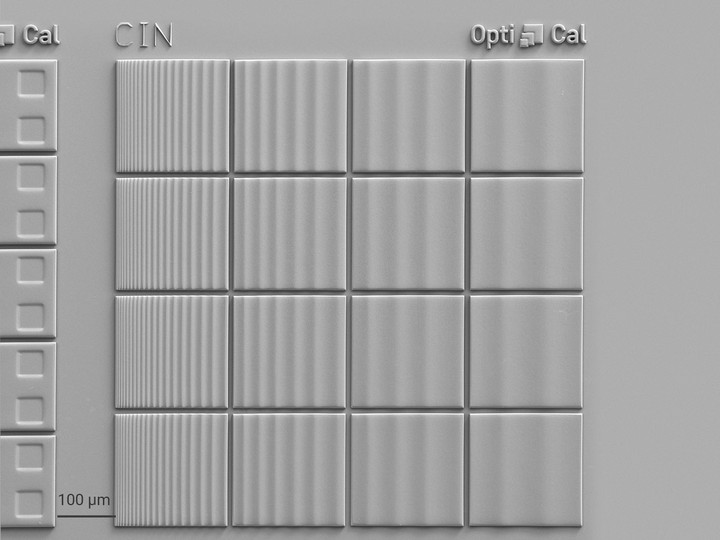
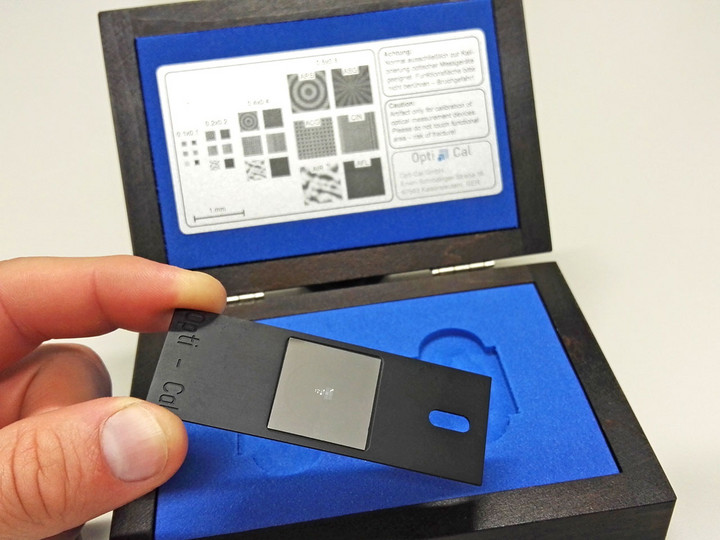
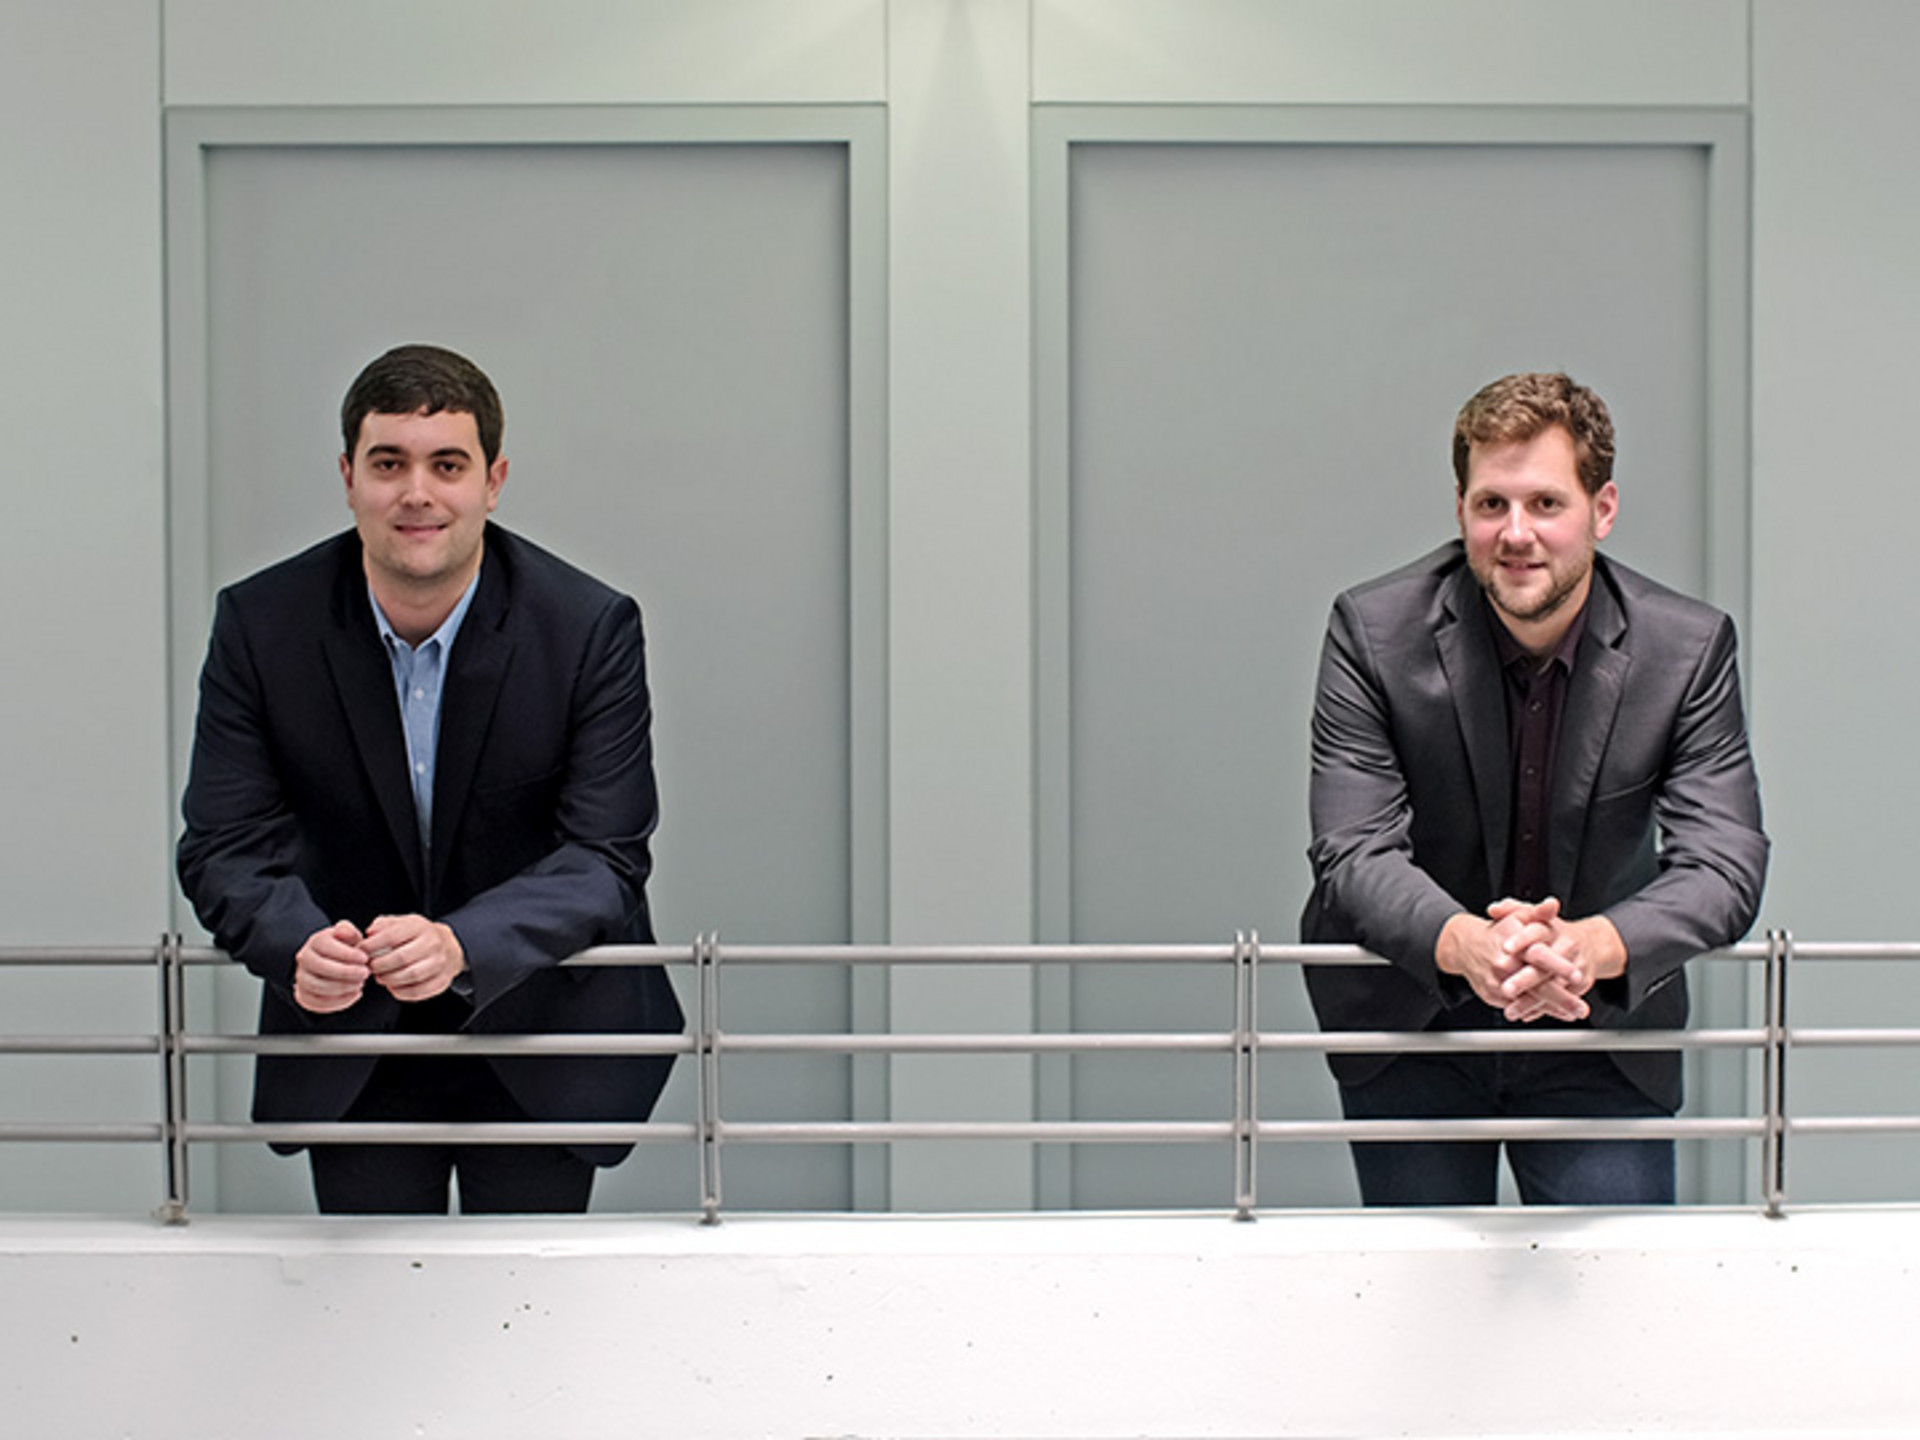
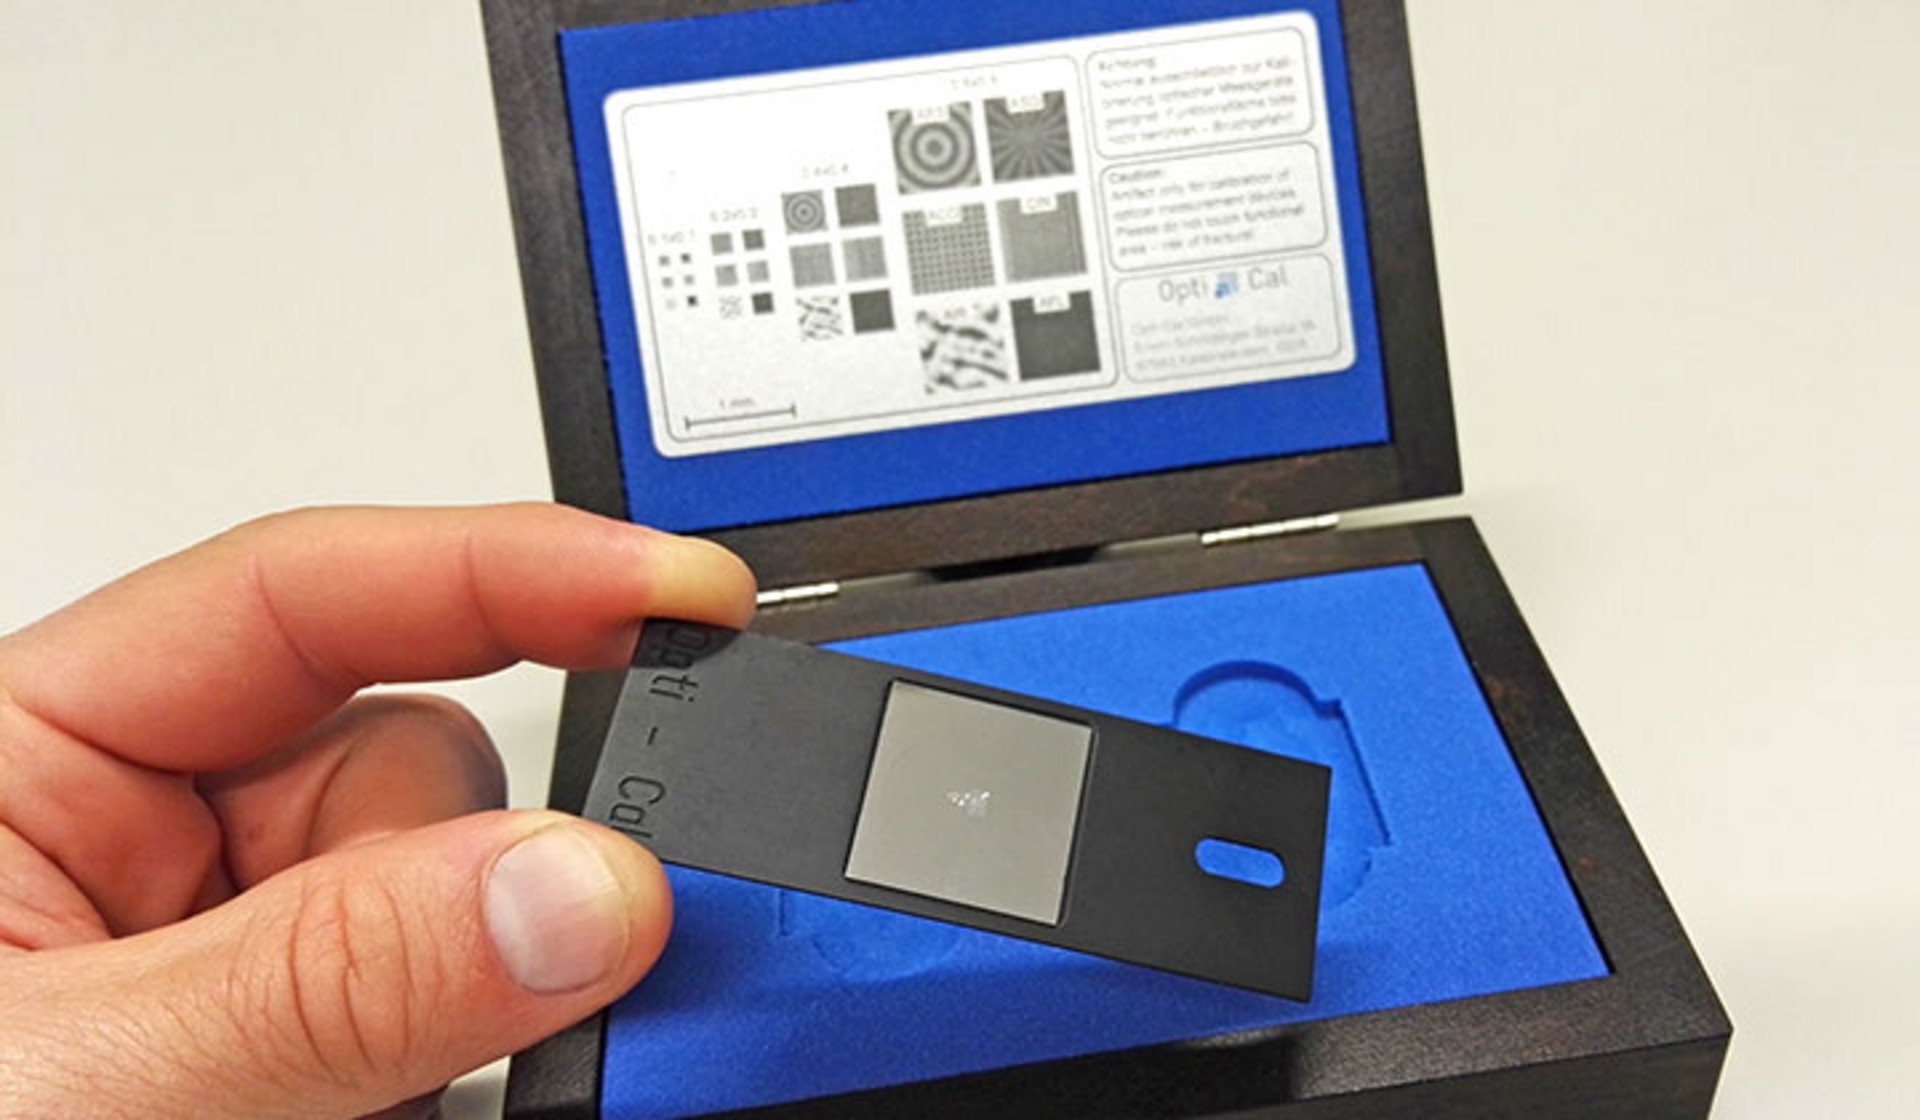
The calibration of optical measuring instruments ensures precise and reliable measurements of surfaces. The German company Opti-Cal GmbH developed the universal calibration artefact with a total of 24 different structures for a holistic calibration of typical industrial measuring microscopes with just one sample. In an interview, the two managing partners Prof. Dr. Matthias Eifler and Dr. Julian Hering of Opti-Cal GmbH, a spin-off of the Technical University of Kaiserslautern, provide interesting insights into the challenges of optical precision metrology and show fascinating SEM images of their 24 material measures, all 3D-printed using a Photonic Professional GT+ system. They explain the solutions offered by an universal calibration artefact in measuring technology and outline the importance of Nanoscribe's 3D Microfabrication in their company’s success story.

Nanoscribe: With your company, you have specialized in the manufacture of the universal calibration artefact and thus in a tool for optical precision metrology. What is the purpose of material measures and what is special about your universal calibration artefact?

Matthias Eifler: Material measures are necessary to check systems that are used for the optical measurement of surfaces and are therefore important in many sectors. In industrial manufacturing processes, such as in mechanical engineering or in the automotive sector, the geometric and actual component surfaces is always expected to deviate from one another. For the accurate determination of these deviations, it is necessary to check the accuracy of the measuring instruments. Material measures help to derive uncertainty budgets and to correct the corresponding measuring device directly according to the measurement result. The universal calibration artefact is the world’s only material measure in the field of optical metrology that makes a holistic instrument calibration possible with only one sample.

So the universal calibration artefact is the all-rounder among the material measures?

Matthias Eifler: Broadly speaking, this hits the nail on the head. The great advantage of the universal calibration artefact for industrial users is that a single sample can be used to perform a comprehensive calibration. Here, a wide range of optical measuring device properties are tested with submicrometer accuracy.

How does form and structure of such a reference look like?

Matthias Eifler: Many different properties are relevant for the calibration of areal measuring instruments. Not only the x-, y- and z- axes are checked, but also the noise and the resolution capabilities of the measuring devices. High-precision verification of the conformity of each individual property often requires an independent material measure, i.e. specific structures with sometimes complex geometries. The reliability of the calibration stands and falls with the precision of the material measure itself. Only manufacturing processes with the highest resolution and reliable repeatability are even considered. Nanoscribe's additive microfabrication technology is ideally suited for manufacturing our truly sophisticated universal calibration artefact.

Prof. Dr. Matthias Eifler, Opti-Cal GmbH

Portrait of Prof. Dr. Matthias Eifler
The reliability of the calibration stands and falls with the precision of the material measure itself. Only manufacturing processes with the highest resolution and reliable repeatability are even considered.
What qualities of the manufacturing approach are critical to producing the universal calibration artefact?

Julian Hering: A decisive advantage is the high precision of Nanoscribe's 3D printing technology. We also benefit from the design freedom of the additive manufacturing process, so that we can print almost any geometry and even the finest structures. A third major plus point is that we can place several material measures on a single sample and manufacture them in a single step because industrial users of optical measuring instruments are usually interested in calibration structures that support various measuring tasks. Our 3D-printed universal calibration artefact already cover all standards of the future metrology standard DIN EN ISO 25178-700.

And what structures do you offer on your universal calibration artefact for calibration tasks?

Julian Hering: The selection of topographies is based on metrological characteristics. They are all listed in the ISO standard 25178-600. The characteristics defined in this standard must be used to specify a measuring device. In order to map these properties, we have combined a total of 24 structures and developed some of them ourselves. For example, we provide two separate structures to determine the resolution: First, the so-called Siemens star, in which a star-shaped structure is used to find the smallest possible rectangle that can still be transmitted by the measuring instrument. The so-called chirped material measure involves sine waves with varying wavelengths. This determines the smallest sine wave that can still be detected with the measuring device. On the artefact there are also structures for checking the entire roughness measurement, the individual axes and the measuring instrument noise. The surfaces of all these structures should have as little curvature or roughness as possible that deviates from the design due to proximity or vignetting effects during manufacturing.

Dr. Julian Hering, Opti-Cal GmbH

Dr. Julian Hering
The surfaces of all these structures should have as little curvature or roughness as possible that deviates from the design.
It is very surprising that there is a need of uniting so many different structures on the universal calibration artefact.

Julian Hering: This is due to the variety of measuring methods and the different measuring field sizes. For some measuring methods, the measurement of edges or large slopes is difficult. Other measuring methods are particularly suitable for inspecting smooth surfaces. Therefore, depending on the measuring technique, one or the other structure is used. The results may well be somewhat different. With many common methods, however, the measured structure resolution limit is of a similar order of magnitude.

As a still young company, how did you manage to establish your universal calibration artefact as a worldwide standard?

Matthias Eifler: We are in constant exchange with the responsible ISO committees and are well informed about the current developments and efforts for the standardization of optical metrology. In addition, we recently conducted an international round robin test at the responsible ISO committee and had our universal calibration artefacts measured by various members of the standardization group. In this way, we were able to collect important data on what results users of different measuring instruments achieve with our universal calibration artefact.

That sounds interesting. Why are intercomparisons so important for you?

Matthias Eifler: The international round robin test provides us with important proof of the quality and universal applicability of our 3D-printed material measures. Since optical metrology is a comparatively young discipline and many standards for areal measurement tasks have only been available for about ten years, there is still little experience and reliable data on the subject of calibration. First of all, the intercomparison showed us how urgently we need standardization for reliable measurement technology. In addition, this worldwide comparison test brought to light that even small differences between different measuring devices can be revealed with the structures we 3D printed. And that, of course, is an accolade for the precision of 3D printing to produce the material measures. In summary, this means: The precision achieved in the 3D Microfabrication of the material measure must exceed that of the measuring instrument to be calibrated, so that the calibration and thus the measurement accuracy are also sufficiently precise.

Prof. Dr. Matthias Eifler, Opti-Cal GmbH

Portrait of Prof. Dr. Matthias Eifler
The precision achieved in the 3D Microfabrication of the material measure must exceed that of the measuring instrument to be calibrated, so that the calibration and thus the measurement accuracy are also sufficiently precise.
This then means that with the international round robin tests, the precision of our microfabrication technology is also put to the test.

Matthias Eifler: Yes, that's right. As part of the comparison, we had the opportunity to obtain reference data from the Physikalisch-Technische Bundesanstalt (PTB) in Braunschweig (Germany) using the metrological atomic force microscope (Editor’s note: AFM in short form) there, which is based on a "nanomeasuring machine". As a globally recognized reference system, it can position down to the picometer range. These measurement results will help us to obtain the most accurate possible image of the structures on our material measures.

How exciting, can you specify the determined accuracy?  

Julian Hering: Just recently, we worked with the PTB on a chirped material measure and achieved resolved sine waves with 600 to 800 nanometers for this complex structure. Actually, hardly any optical measuring instrument can achieve such a high structural resolution. 800 nanometers may not sound very ambitious at first glance. This might be true for a normal line grid, but for measurements of, for example, topographies with an amplitude, i.e. with defined waves and a strong proximity effect, we would not have expected such precision. The very good resolution of Nanoscribe's microfabrication technology contributes decisively to the good performance of the universal calibration artefact. By fine-tuning the laser power and trajectories, we further optimize the printing of the structures. We thus achieve significantly finer structures than high-end optical microscopes can resolve.

Dr. Julian Hering, Opti-Cal GmbH

Dr. Julian Hering
The very good resolution of Nanoscribe's microfabrication technology contributes decisively to the good performance of the universal calibration artefact.
And who are the customers that use your high-precision universal calibration artefact?

Matthias Eifler: One of our first customers developed a new type of sensor, but had so far no concrete idea of how precisely the measuring system would actually work. We qualified his measuring device prototype with the universal calibration artefact and took a very close look at how well the system performed. Based on this analysis, we provided the customer with valuable information for the development of the series system, including information on properties that go beyond the current state of the art. But we meanwhile also sell the material measures to all manufacturers and users of optical surface metrology who need to qualify their measuring systems. In industries where high-precision surface manufacturing is required, our universal calibration artefact is an important asset.

Finally, one last question: How can we support you even better by providing microfabrication solutions?

Julian Hering: Higher structuring speed without losing precision is important for us. On the one hand, we need high resolution and, and on the other hand, we need large-area structures, which takes time.

Nanoscribe: From this point of view, Two-Photon Grayscale Lithography (2GL ®) and thus our maskless lithography system Quantum X is interesting. The product of precision and speed is increased at least by a factor of 10. Since you focus on 2.5D topographies, this would be a real advantage for you. It would thus be exciting to see how much further you can go with Nanoscribe Quantum X in terms of precision and speed. We should definitely explore this together.

Opti-Cal GmbH

The precision measuring company
Dosing by hand onto a substrate

Opti-Cal GmbH is a spin-off of the TU Kaiserslautern. The universal calibration artefact developed by Opti-Cal and manufactured with a Nanoscribe Photonic Professional GT+ enables the fully comprehensive calibration of optical measuring instruments with only one reference sample. The universal calibration artefact already meets the future standards of DIN EN ISO 25178-700 for the calibration of the corresponding measurement technology. Opti-Cal's proprietary software "Opti-Check" enables an ISO-compliant evaluation of the metrological properties and is always up to date with the corresponding ISO standardization thanks to cloud-based provision.

Prof. Dr. Matthias Eifler is co-founder and CEO of Opti-Cal GmbH and professor at IU International University. In 2016, he completed his doctorate on the topic of "Model-based development of material measures for geometric product specification" and habilitated in metrology at TU Kaiserslautern three years later.

Dr. Julian Hering is co-founder and Chief Technical Officer of Opti-Cal GmbH. He also works as an academic councilor in the Optical Technologies and Photonics group of the Physics Department at TU Kaiserslautern. In 2020 he received his PhD with a dissertation on "From STED inspired two-photon laser lithography to industrial metrology".

In brief

Universal calibration artefact

In all manufacturing processes, unavoidable deviations occur between the designed and manufactured component surface. Since measuring instruments also lack measuring reliability, calibration of the measuring technology is necessary in order to be able to determine the deviations in production as reliably as possible. Material measures are used to derive so-called uncertainty budgets, which can be used to make corrections to both measuring instruments and production machines.

Nanoscribe's microfabrication technology enables the production of very high-resolution and shape-accurate structures. And with such accuracy that they are used to calibrate measuring instruments with high resolution and precision. Opti-Cal is the first company in the world to manufacture material measures with high-precision 3D printing and, with the universal calibration artefact, can offer a product for holistic measuring instrument calibration with just one sample.


Kalibriernormal Box
Kalibriernormal
Login Register
Contact us
Close

It's your choice

Cookies help us to better understand you as a visitor and to provide you with a better experience.

It's your choice
Cookies help us to better understand you as a visitor and to provide you with a better experience.
Legal Notice Privacy Policy
Accept all Individual Settings